Seiko SKA371: restoring a survivor
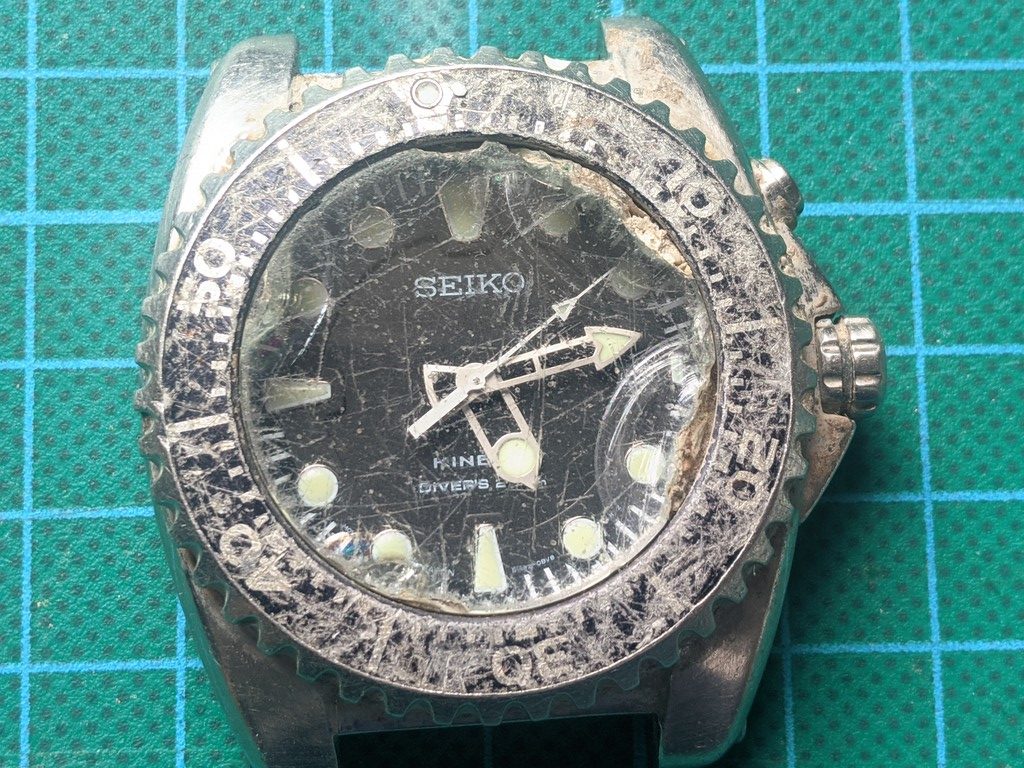
In today's chapter we will see the first part of the restoration process of a Seiko SKA371 bought second hand at strap price. It was clear that this watch had suffered a lot in its day to day life, but it was a real survivor..
Maybe we should modify the saying "have a dog's life" for "have a watch's life" seeing the state in which I got this Seiko BFK (Big Freaking Kinetic). It all started one day when I found the ad for sale on a second hand website at a ridiculous price (about the price of a strap).
The photos did not deceive, the watch was worn out, surely to a hard life with its owner in the construction. The multiple "bites" in the crystal, along with a multitude of small sticks of a cement-like substance left no doubt.
Although with multiple doubts, and due to the low selling price as the seller assured me that it worked and that the photos showed that the dial and hands were fine, I decided to buy it.
Watch reception
A few days later I receive the package with the watch, and as usual, I do an initial validation of possible damage:
- Evidently, the crystal was ready to be thrown away and a new one put in.
- The bezel insert was badly scratched and with cement stains.
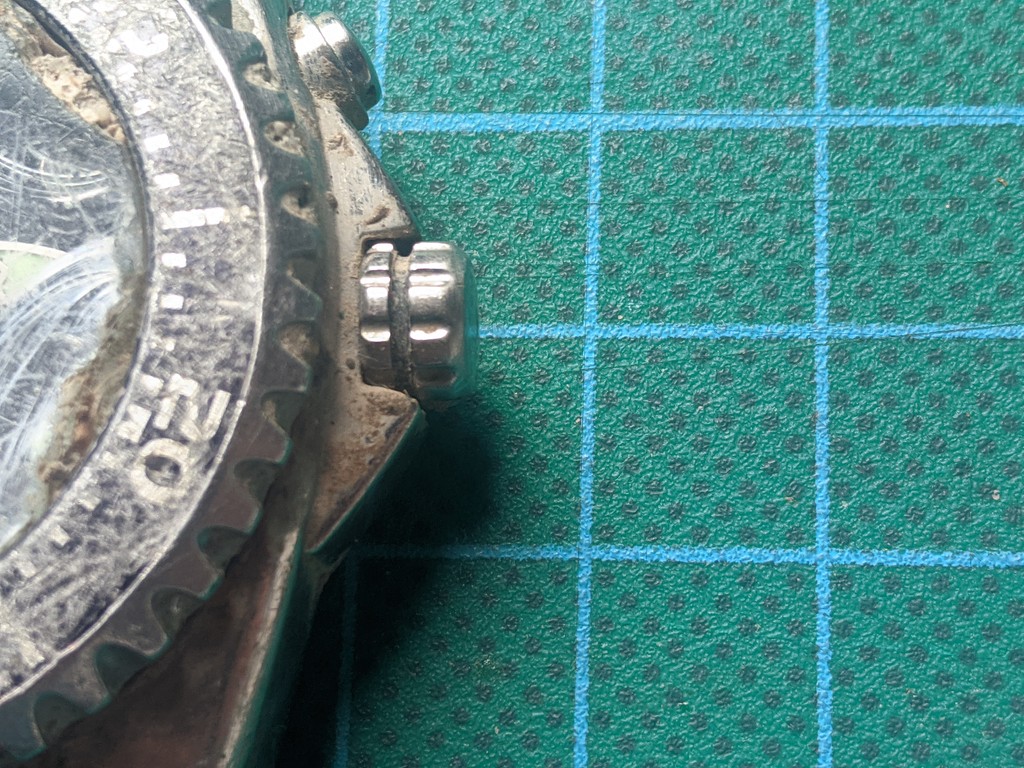
- In the bezel grooves more cement.
- In various areas of the case, more cement stuck.

Another aspect that worried me was the battery, it might not hold the charge for a long time. After leaving it a few hours in the 5€ kinetic charger, I have found that it is touched, it does not hold the maximum charge level for a long time, but at least it keeps some charge.
Maybe if left unused for more than two days, it will reach the minimum level. I will have to subject it to more charge cycles with the charger to check if I should change it, but I will do it later.
As we can see in the following pictures, the cleaning task is going to be complete, because everywhere you look there is cement stuck to it.


Extracting the module
The first thing to do is to take the kinetic module out of the box so that we can clean it without any problems and replace the glass.

As we can see the back of the case does not disappoint and also has a lot of dirt. With the jaxa key we proceed to open the case and check the movement and the rear gasket.

Amazingly, the rear gasket looks good, as does the module, which does not appear to have been tampered with.
The next step is to remove the stem and crown by pressing with the tweezers on a button marked on the module.

Once we have removed the crown and seatpost assembly, we proceed to remove the module from the case, and incidentally discover more dirt in the threaded tube of the crown.
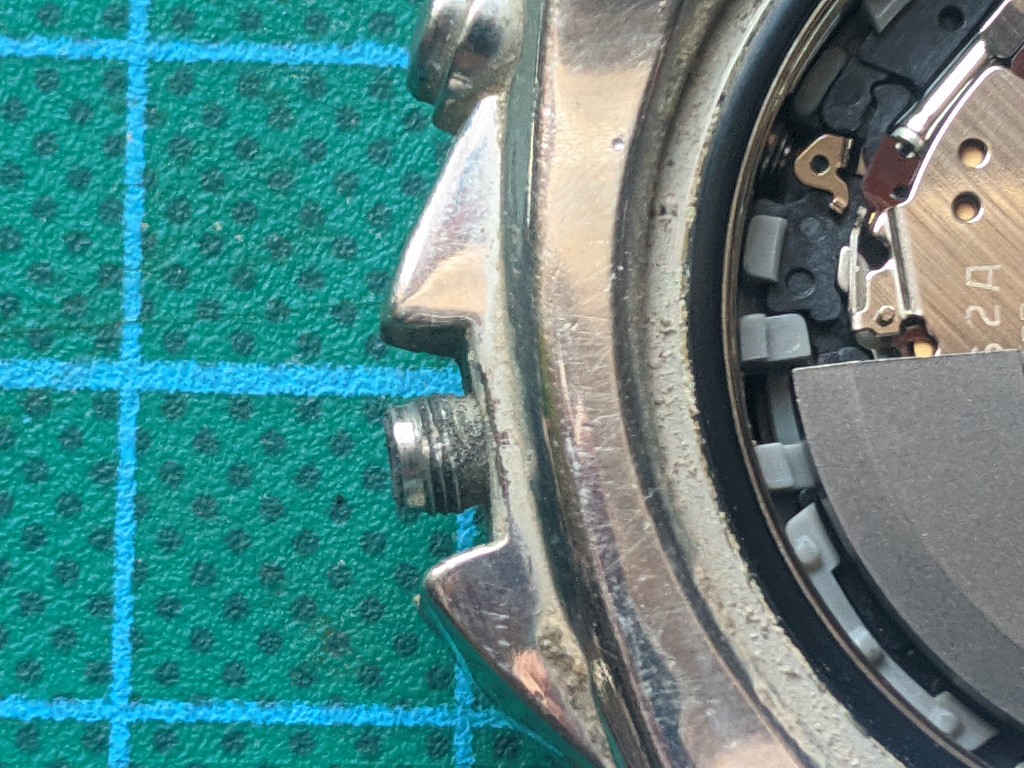
Another important step is to remove the rear seal to check its condition. Surprisingly, the condition is good and will not need to be changed, just a little lubrication with silicone grease.
Although with the glass so damaged it was intuited that there was no damage, the moment of truth arrives to check it definitively. We remove the module, we turn it over and... they are all perfect.

Actually I had already read about the hardness of this watch model, even in the Watchuseek.com forums, the user dnslater was dedicated to make various endurance tests: freeze it and then put it in boiling water, pass with the car over it, spin it in the washing machine, etc.. It is a pity that the photos were lost.
You can really tell that this particular watch has been through a lot of testing and yet even the back gasket has not been damaged. And with the glass half destroyed it has continued to protect both the day and the hands with no problems. No wonder some say that this model was Seiko's answer to Casio's G-Shock range.
Bezel removal
My original idea was to remove the bezel in order to perform a more complete cleaning. I tried both with the bezel extractor and with a knife, but the result was negative. Impossible to disassemble the bezel.

It is a watch that has the bezel very tight to the case, so there is hardly any space to insert the knife and pry. With the extractor ra much easier, but once tightened, although it separates the bezel a little it was impossible neither to turn it nor to pry it.
Unfortunately, I think this is another thing to review in a future installment, since there was no way to disassemble the whole thing.
Change of glass
Searching on ebay, I found a replacement crystal for this model of watch. The truth is that I looked for the measurements on the internet to buy a generic replacement, but I couldn't find them. I didn't want to remove the crystal because I was sure it would break, and I didn't know if it would be whole enough to be able to measure its dimensions.
I bought this crystal that indicated that it was valid for this model, although it was not the original Seiko one. The reason is that the crystal would cost me more than the watch, so I decided to buy this compatible one. But when I got it, I had a little surprise.
The diameter of the crystal was correct, but the thickness was not. The original crystal of this Seiko is 3.35mm, but the one I had bought was 4mm, which makes it protrude a little above the bezel.

In the press, we install the tases of the appropriate measures to extract the crystal in the press. We placed the watch case with the crystal down, prayed (because without the bezel removed and with the bad condition I do not know if it would burst) and pressed to extract the crystal.
As you can see in the picture above, something has chipped, but it has turned out better than I expected.
Cleaning
As I had to wait for the crystal to arrive, I started cleaning the watch case. It was really a slow process. I started by perfectly cleaning the inside of the watch case and the crystal gasket with the remains of the chipped crystal.
After several washes with a stiff bristle brush, and several ultrasonic washes, along with several manual cleanings, it was "half decent".
The advantage of this glued cement is that it was not excessively difficult to remove, so although laborious, it was not complicated to remove it.

We continue to install the glass
Days later, with the watch case completely clean, and without traces of cement, I receive the crystal. As I mentioned before, it is thicker than the original, so it will protrude over the bezel.
It is not an idea that I love, but unfortunately the seller did not specify the measurements, so for now it will stay like this.
We place the appropriate size cases and place the watch case with the crystal half-fitted in the press. It is important that the crystal is "level" in the watch case, that is, that it does not protrude on one side more than another. This way it will fit without problems.
And all that remains is to tighten and rotate the watch case to compensate for any unevenness in the crystal.


As I had thought, just by changing the crystal of the watch the change is spectacular. There are still more things to improve, especially small specks of cement that still remain, but it is more presentable.

We take advantage of the fact that we are finishing to apply a little silicone grease on the crown thread to keep the seal in optimal condition.
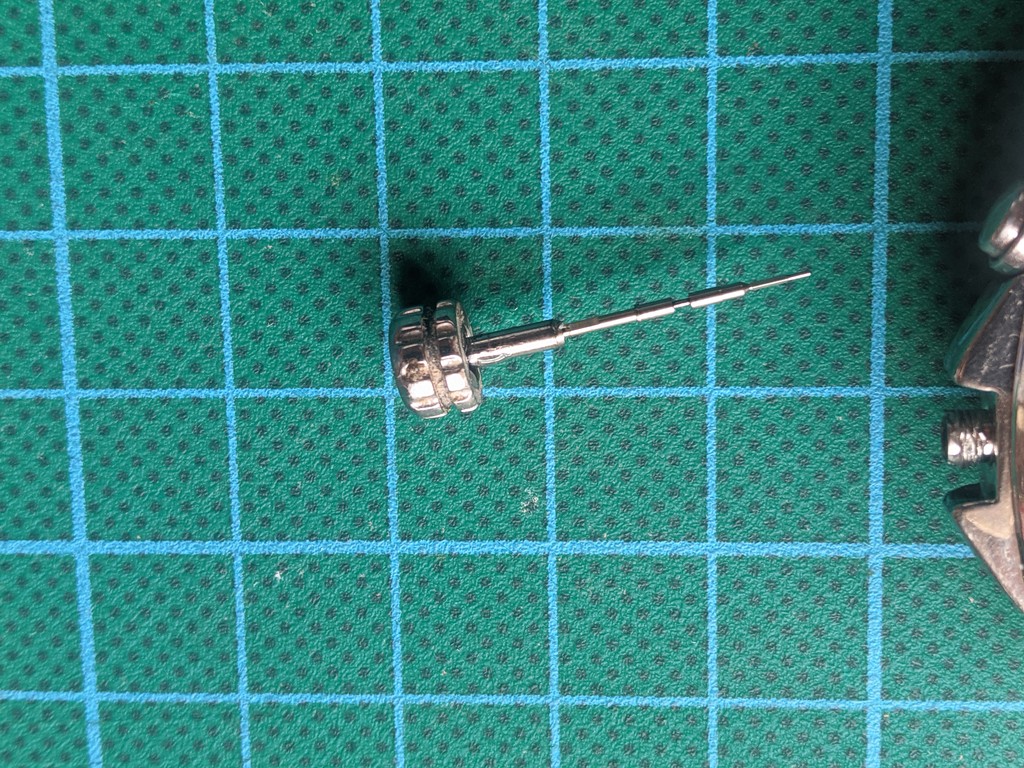
We placed the stem and crown and checked the operation of the same.
We also applied silicone grease to the rear seal to keep it in the best possible condition and improve the watertightness.
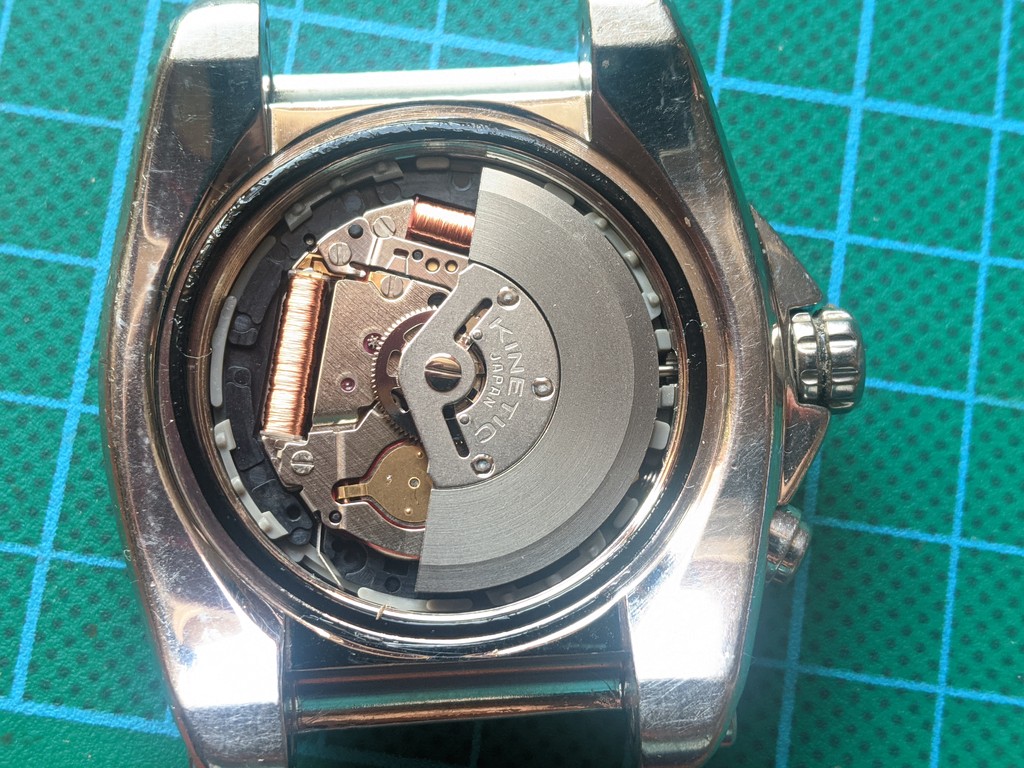
We place the back cover with the jaxa and for today we have finished.


Conclusion
There are still things to improve in this watch to make it much more presentable. But in order not to make this post too long, I will deal with it in the next installments:
- Finish removing any cement residue, no matter how small.
- Polish and brush the case again to recover its original aesthetics as much as possible.
- Change the battery as it does not hold more than 3 days charge.
- Value change the bezel insert, as I didn't want to spend much more than the cost of the watch.
- Get an original bracelet at a good price (this is going to be difficult).
All in all, I found this Seiko SKA371 to be a real tank. After the bad life it has endured, it has proven to hold up to just about anything. I did not expect both the gaskets and the charging button and the day and hands to be in perfect condition.
A highly recommended watch.
Leave a Reply