Casio GW-6900: reversing the screen
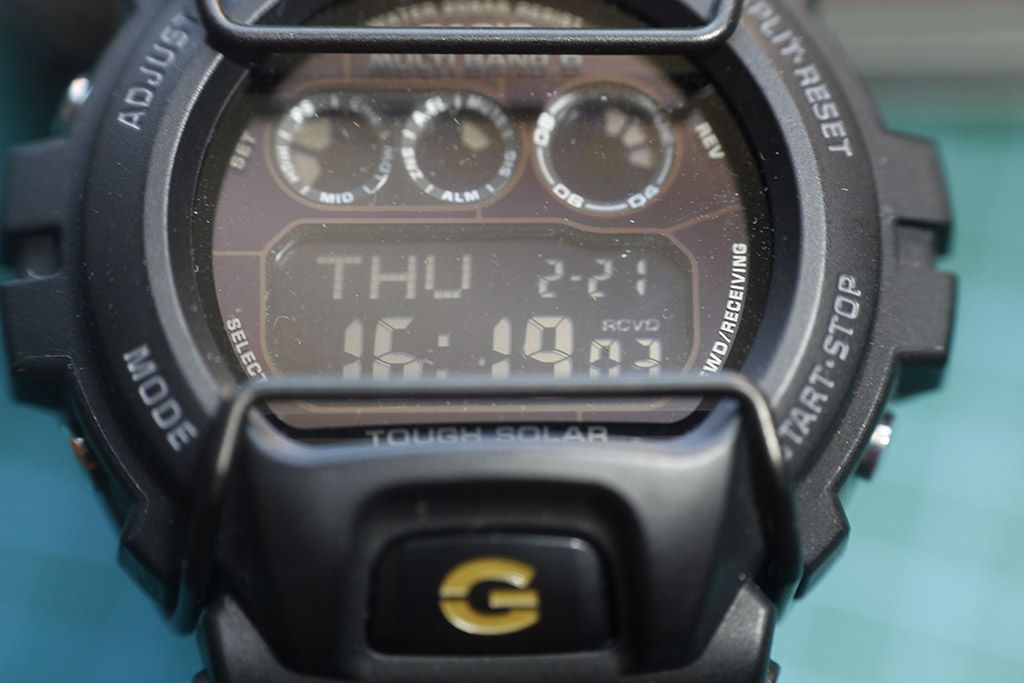
I've been owning this Casio G-Shock GW-6900 (BC version, with reversed screen) for a few months now, and although I think it's a great model (I don't understand why Casio doesn't sell it anymore), it presented a big problem. The screen was inverted.
Although it was one thing I knew at the time of purchase, its tactical aspect, good price, being solar and radio controlled, and not being available for sale encouraged me to buy it.
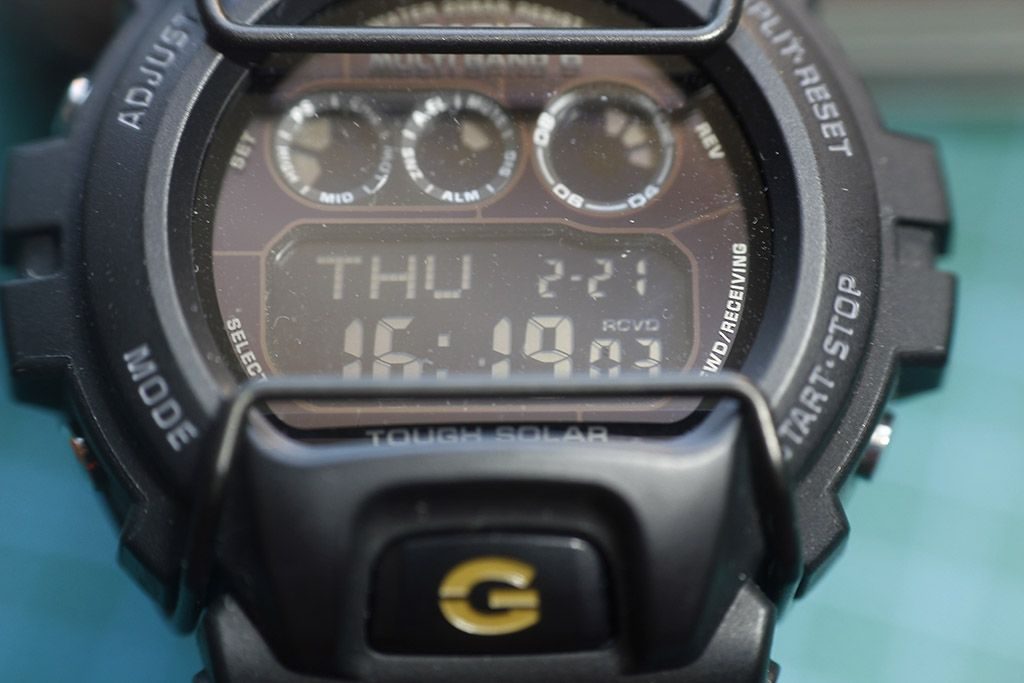
Unfortunately, I realized that I used it less than I expected, not because I disliked the watch, on the contrary, but because with the screen inverted I found it difficult to read the time in many situations, especially when the light was not directly on the screen.
Normal or inverted screen, what's the difference?
The fundamental difference between a normal screen and an inverted one is not any special screen design or coating. The only difference is the orientation of the polarizing filter on the screen, just that.
Knowing this, it is very easy to "uninvest" or "reverse" a screen. We only have to remove the polarizing filter that has the factory clock, clean the remains of glue, and go turning the new polarizing film until we have the screen as we want, normal or inverted. And finally cut it with the shape of the screen.
In my case I never "reuse" the old polarizing filter, because when I remove it from the screen, the adhesive side is damaged and then when I try to stick it again it's not perfect.
For these cases I bought some polarizing films with an adhesive side of a Nintendo on ebay.
We can buy mobile phone polarizing sheets or consoles that are large in size and we can use them for several watches.
Necessary tools
The tools needed before "operating" are the usual ones:
- Screwdriver for removing the rear cover
- Tweezers for removing the module and dismantling
- Isopropyl alcohol to clean glue residues from the screen polarizing filter
- Sharp cutter to cut the polarizing filter to size and to remove the old one from the screen
- Polarized film with an adhesive side, so it will be perfect when sticking it to the screen again
Once all the material is prepared, we can proceed to "operate".
Dismantling the Casio GW-6900 module
The first thing to do is to remove the rear cover by gently removing the 4 screws. You will find a protective plastic cover, which you will release by means of the lateral metal tabs.
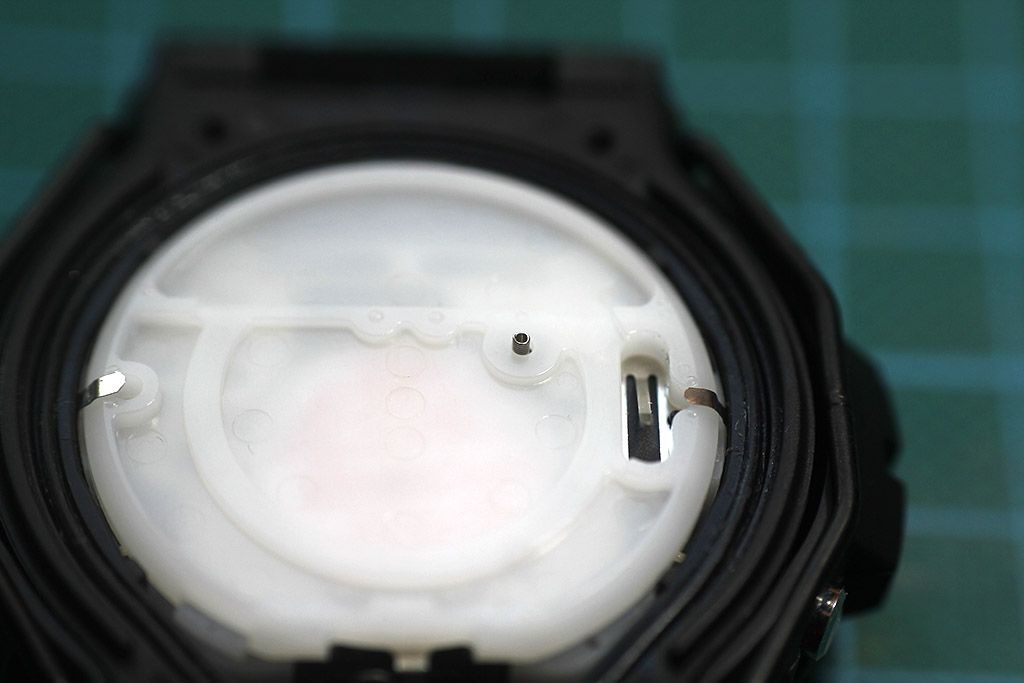
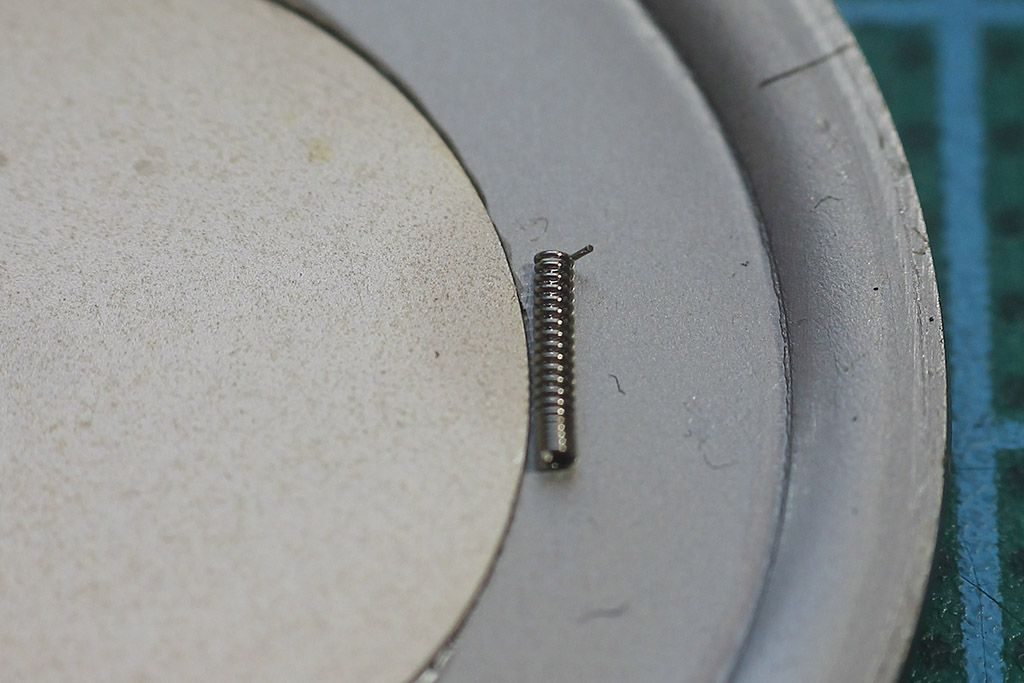
We will take very much into account the spring that connects the pcb circuit of the clock with the back cover and that allows the sound of the buttons and alarms to work. It is better not to lose it, which is very easy to make disappear.
Once we can access the module, we pull it out with the tweezers. Then, we have to disassemble the module step by step, since we have to access the screen.

It is convenient to document step by step how the different pieces are placed. I take pictures with my mobile phone at every step so that I don't have any doubts about the different pieces when I have to reassemble the module.
We remove the battery from its compartment, and the metal case by releasing the tabs that are hooked into the plastic body of the module. Later, we remove the plastic plate where the battery is housed, and we can see the pcb circuit of the clock.
We'll have to be careful with several springs here. On the side there are two "large" springs that connect the solar panel to the circuit. Also, if we lift the circuit, there are two small springs that connect the screen to the circuit, in addition to the two zebra connectors of the screen.
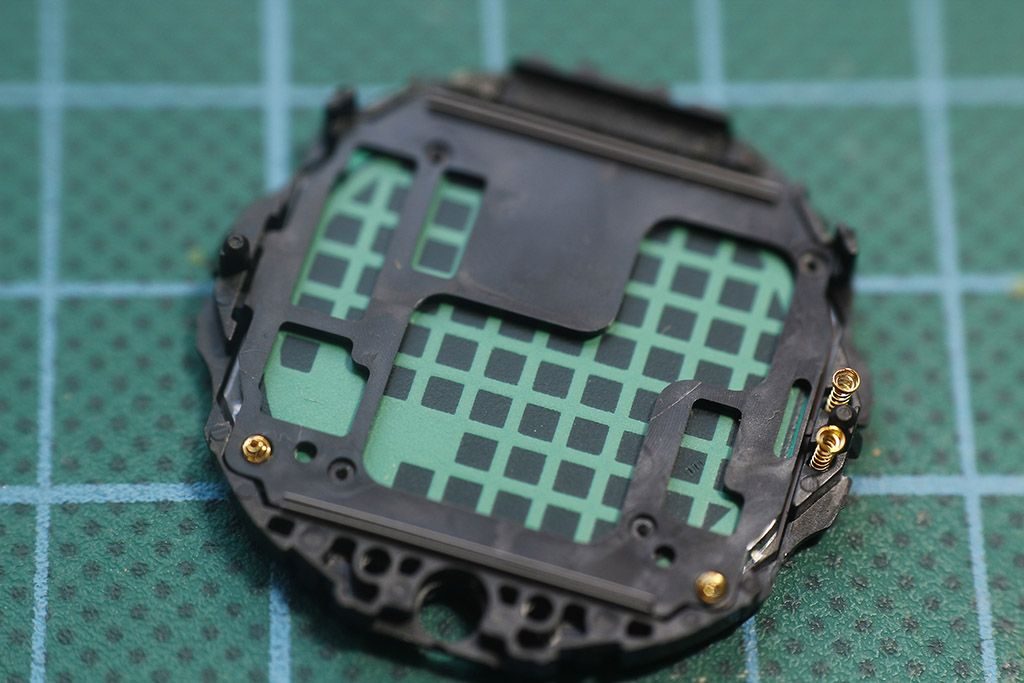
We remove the plastic plate from the back of the screen. To loosen it, we can pry it off on the side of the plate and thus loosen it easily. Once removed, we can access the screen.

Remove the polarizing filter
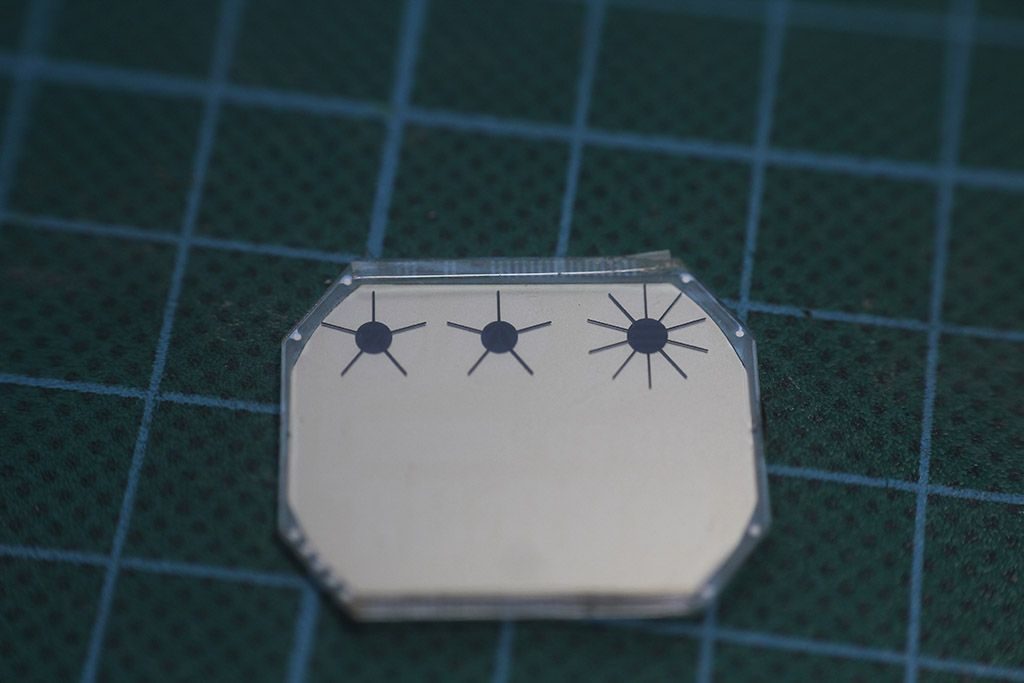
We take the screen out of the plastic body and place it on a flat surface, so it will be easier to remove the polarizer.

Now comes the most delicate part of the operation. With the cutter (it's essential that it's well sharpened), we start to separate the polarizing filter from the side of the screen. It's essential to be very calm and go slowly separating the polarizing filter. It's better not to be in a hurry to damage the screen.
We reassemble the module of the Casio GW-6900
Once the polarizing filter has been removed, we must remove the remains of glue on the screen surface. With isopropyl alcohol and a microfiber cloth we clean the screen thoroughly. It is very important not to leave any rest of glue so that later we do not have problems with bubbles when gluing the new polarizer.
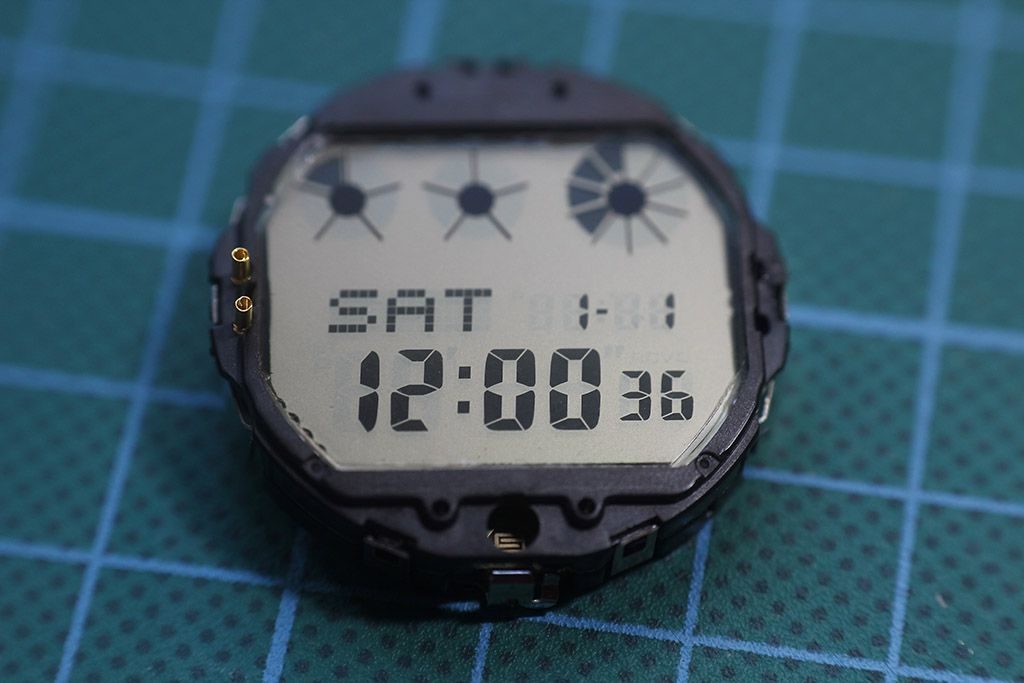
We proceed to mount the module again, it is necessary that the clock works again showing the time, since we need to know the exact position of the polarizing filter to "invert" or "uninvert" the screen.
Once the clock is working again, we will place the polarizing filter on the screen until we obtain the desired type of screen. Once we have the polarizer placed as we want, we mark it to have a reference when cutting it.
We dismantle the module again
We disassemble the module again (following the same order as above) and access the screen. We can use the old polarizer as a mold to cut the new one, taking into account the marks of the correct position that we have done in the previous step and, this is important, the face that contains the adhesive.
Gluing the new polarizing filter
With the new polarizer already cut, we will proceed to paste it on the screen. We remove the protective film from the adhesive side of the polarizer and place it on the screen. This process must be done little by little, trying not to leave any bubble that will make it difficult to see the time.

Final assembly of the clock
Once the polarizer is glued, we mount the module again, taking special care in the placement of the different springs. We can guide ourselves with the photos we have taken as we dismantled the module.
Finally, it is very important to reset the module. We connect the "AC" of the module with the positive pole of the battery, so we can make sure that the clock works correctly.
We can take advantage of this to lubricate the rear seal with silicone grease and proceed to close the watch with the back cover.
Casio GW-6900 "divested"As you can see in this last picture, the readability of the screen has improved a lot. Now I'll give a lot of use to the clock 😉
Related video
If you're as passionate about watch repair as I am, be sure to check out more in the Mods category, where you'll find in-depth articles similar to Casio GW-6900: reversing the screen. Keep honing your craft with us!

Leave a Reply